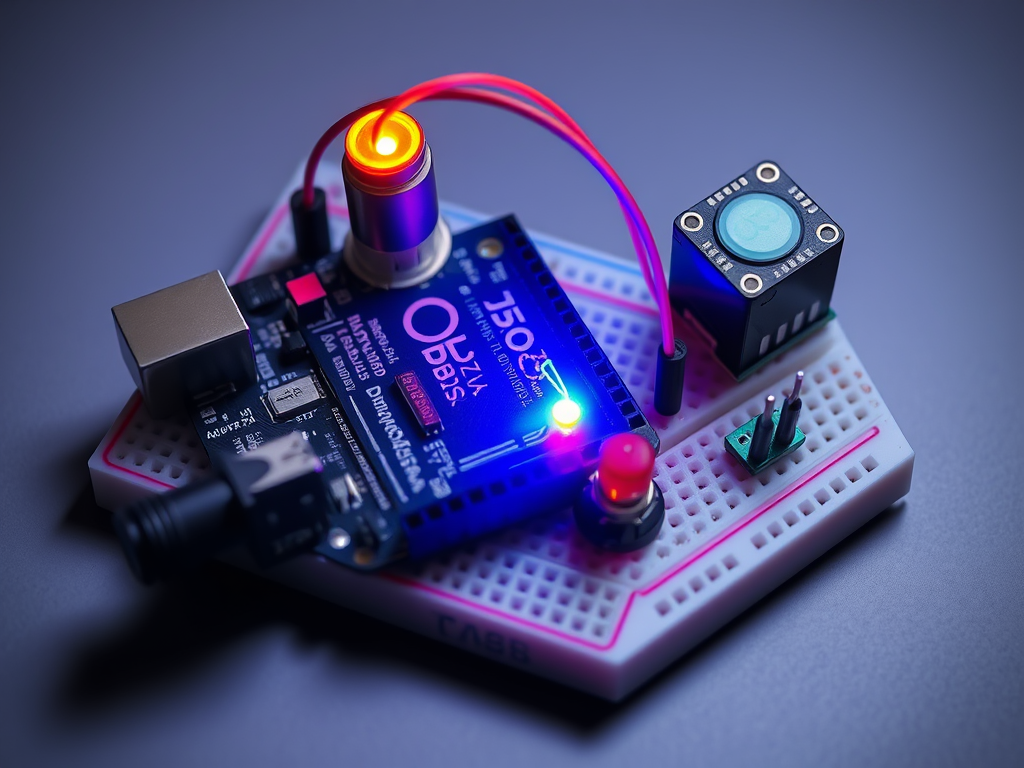
Build a Smart Water Dispenser using Arduino and an ultrasonic sensor! Learn how to create a touchless automatic water dispenser that activates a pump when it detects your hand. Step-by-step guide, circuit diagram, components, and Arduino code included.
- Introduction: Smart Water Dispenser using Arduino
- Why Build a Smart Water Dispenser?
- How the Smart Water Dispenser Works
- Components Required
- Circuit Diagram and Connections
- Arduino Code for Smart Water Dispenser
- Testing Your Project
- Applications
- Advantages
- Possible Upgrades
- Safety Tips
- SEO Keywords (Include Naturally in Your Post)
- Conclusion
Introduction: Smart Water Dispenser using Arduino
In today’s world, hygiene and automation are becoming essential in our daily lives. Whether it’s in homes, offices, or public places, people prefer touchless systems to avoid contamination and improve convenience.
One such innovation is the Smart Water Dispenser using Arduino — a project that automatically dispenses water when it detects a hand nearby.
This DIY project is simple, affordable, and practical, using basic components like an Arduino board, ultrasonic sensor, relay module, and mini water pump.
In this article, we’ll explain everything — from the working principle and circuit design to the Arduino code and real-world applications.
Why Build a Smart Water Dispenser?
Here are a few reasons why this project is worth your time:
- ✅ Hygienic and Contactless – Reduces the spread of germs and bacteria.
- ⚙️ Fully Automatic – Dispenses water only when needed, saving both time and water.
- 💧 Energy Efficient – The water pump runs only when a hand is detected.
- 💡 DIY Friendly – Uses simple, easily available electronic components.
- 🔧 Customizable – Can be extended to dispense sanitizer, soap, or other liquids.
How the Smart Water Dispenser Works
The working principle is quite simple:
- Ultrasonic Sensor (HC-SR04) detects the distance of any object in front of it.
- When a hand comes within a set range (for example, 10 cm), the Arduino microcontroller receives this signal.
- Arduino then activates the relay module, which turns on the water pump connected to a water reservoir.
- When the hand is removed, the ultrasonic sensor no longer detects an object, and the relay turns off the pump — stopping the water flow.
Thus, the system dispenses water automatically without physical touch.
Components Required
To build your own Smart Water Dispenser using Arduino, you’ll need the following components:
| Component | Quantity | Description / Function |
|---|---|---|
| Arduino Uno / Nano | 1 | Main microcontroller for processing sensor data |
| Ultrasonic Sensor (HC-SR04) | 1 | Detects the distance of objects (your hand) |
| 5V Relay Module | 1 | Switches the pump on/off based on Arduino signal |
| Mini Water Pump (DC 5V–12V) | 1 | Pumps the water from reservoir |
| Jumper Wires | As needed | For connecting components |
| Breadboard | 1 | For easy circuit assembly |
| Power Supply (5V or 9V adapter) | 1 | To power the Arduino and pump |
| Plastic Tube | 1 | To direct water flow from pump outlet |
Circuit Diagram and Connections
Here’s how you connect everything:
- HC-SR04 Ultrasonic Sensor
- VCC → 5V on Arduino
- GND → GND on Arduino
- TRIG → Digital Pin 9
- ECHO → Digital Pin 10
- Relay Module
- VCC → 5V on Arduino
- GND → GND on Arduino
- IN → Digital Pin 8
- Water Pump
- Connect one end to COM (Common) terminal of relay.
- Connect other end to NO (Normally Open) terminal.
- Power the pump using a separate 5V/9V source (through relay control).
Make sure to connect all grounds (GND) together for a common reference.
Arduino Code for Smart Water Dispenser
Below is the sample code for your automatic water dispenser project.
// Smart Water Dispenser using Arduino and Ultrasonic Sensor
define trigPin 9
define echoPin 10
define relayPin 8
long duration;
int distance;
void setup() {
pinMode(trigPin, OUTPUT);
pinMode(echoPin, INPUT);
pinMode(relayPin, OUTPUT);
Serial.begin(9600);
}
void loop() {
digitalWrite(trigPin, LOW);
delayMicroseconds(2);
digitalWrite(trigPin, HIGH);
delayMicroseconds(10);
digitalWrite(trigPin, LOW);
duration = pulseIn(echoPin, HIGH);
distance = duration * 0.034 / 2;
Serial.print(“Distance: “);
Serial.println(distance);
if (distance < 10) { // If hand is within 10 cm
digitalWrite(relayPin, HIGH); // Turn ON pump
} else {
digitalWrite(relayPin, LOW); // Turn OFF pump
}
delay(200);
}
How the Code Works
- The ultrasonic sensor continuously measures distance.
- If the detected distance is less than 10 cm, the relay pin goes HIGH (activating the water pump).
- When the hand moves away, the relay turns off automatically.
Testing Your Project
Once your circuit is ready and code is uploaded:
- Power up the Arduino.
- Place your hand in front of the ultrasonic sensor.
- The pump should start running and water should flow through the tube.
- Remove your hand — the pump stops automatically.
You’ve successfully built a Smart Water Dispenser using Arduino!
Applications
This simple project has several practical uses:
- 🏠 Home Kitchens – Hands-free water tap for hygiene.
- 🏢 Offices & Public Restrooms – Touchless water dispensers for employees or guests.
- 🏥 Hospitals & Clinics – Reduces germ transmission.
- 🧴 Sanitizer Dispensers – The same design can be modified to dispense liquid sanitizer.
Advantages
- ✔️ Low Cost and easy to build.
- ✔️ Reduces water wastage by automatically turning off.
- ✔️ Compact Design, suitable for small setups.
- ✔️ Expandable — you can add temperature or flow sensors.
Possible Upgrades
Once your basic version works, you can add more features:
- LCD Display: Show water level or usage count.
- Wi-Fi (ESP8266/ESP32): Control or monitor remotely.
- Flow Sensor: Measure the exact quantity of water dispensed.
- Buzzer or LED Indicator: Provide feedback during operation.
- Solar Power Supply: Make it eco-friendly and energy-efficient.
Safety Tips
- Always use a low-voltage pump (5V–12V DC) for safety.
- Keep electronic parts away from water — use waterproof casing.
- Use separate power supply for the pump if it draws high current.
- Double-check connections before powering on.
SEO Keywords (Include Naturally in Your Post)
Keywords:
Smart Water Dispenser using Arduino, Arduino water pump project, automatic water dispenser, touchless water system, Arduino ultrasonic sensor project, DIY Arduino projects, Arduino relay module, automatic tap system, Arduino hygiene project, smart home automation.
Conclusion
The Smart Water Dispenser using Arduino is a perfect example of how simple electronics and coding can make everyday life smarter and safer.
With just a few components and a bit of coding, you can build a touchless automatic water system that saves water, promotes hygiene, and enhances convenience.
Whether you’re a student, hobbyist, or DIY enthusiast, this project helps you understand sensor interfacing, relay control, and automation — all core concepts in Arduino programming.


